

The smokey eye remains makeup’s most timeless look—sultry, versatile, and surprisingly wearable once you know the technique. Whether you’re getting ready for a wedding, date night, or just want to elevate your everyday makeup, mastering the smokey eye opens up endless possibilities. The secret isn’t expensive products or professional skills; it’s understanding the blend, building color gradually, and knowing which tools actually make a difference.
Quick Summary:
A smokey eye involves applying dark eyeshadow to the outer corner and lash line, blending upward to create a gradient, smudging liner on lower lashes, and finishing with mascara. Start with light layers, blend continuously, and use the right brushes for a flawless, sultry look.
Table of Contents
What Is a Smokey Eye and Why Does It Work?
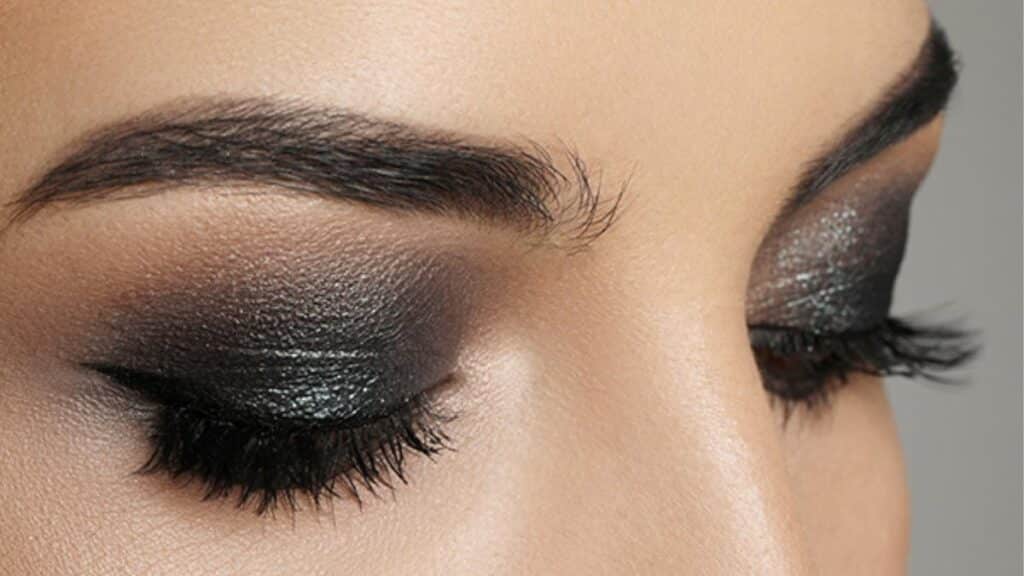
A smokey eye is a gradient eye makeup technique where dark eyeshadow is concentrated at the lash line and outer corner, then blended upward and outward to create a soft, diffused effect. The “smoke” comes from that seamless blend—no harsh lines, just color that gradually fades from intense to subtle.
The look works because it adds dimension and drama to your eyes without requiring precise lines or perfect symmetry. Unlike winged eyeliner that demands steady hands and exact angles, the smokey eye is forgiving. Small mistakes disappear in the blend, and the diffused effect naturally flatters most eye shapes by creating depth and making eyes appear larger and more defined.
Traditionally done in blacks and grays, modern smokey eyes come in every shade—bronze, plum, emerald, navy, even soft browns for daytime wear. The technique remains the same; only the color intensity changes. This versatility is what keeps the smokey eye relevant across decades and trends.
Essential Tools and Products for Smokey Eyes
Before touching any eyeshadow, gather the right tools. The difference between a muddy mess and a professionally blended smokey eye often comes down to brushes, not skill level.
Must-have brushes:
- Small pencil brush or shader brush: For packing dark color precisely on the lash line and outer corner
- Fluffy blending brush: Medium-sized and soft, essential for diffusing edges and creating gradients
- Smudger brush or small angled brush: For applying shadow along the lower lash line
- Clean blending brush: Always keep one unused brush on hand to soften any harsh lines
Product essentials:
- Eyeshadow primer: Prevents creasing and makes colors more vibrant and long-lasting
- Neutral transition shade: A matte color slightly darker than your skin tone for seamless blending
- Dark eyeshadow: Your “smokey” shade—black, charcoal, deep brown, plum, or any rich color
- Eyeliner: Pencil or gel for waterline and lash line (optional but adds intensity)
- Mascara: Multiple coats on top and bottom lashes complete the sultry effect
Optional but helpful:
- Tape: Medical or scotch tape for creating sharp outer edges
- Makeup remover or micellar water: For cleaning fallout and perfecting edges
- Shimmer or light shadow: For inner corner and brow bone highlights
The investment isn’t in having every expensive palette—it’s in having the right brush shapes. A good fluffy blending brush from any drugstore brand will serve you better than premium eyeshadows applied with fingers or cheap, scratchy brushes.
Step-by-Step Smokey Eye Tutorial
Step 1: Prime and Prep Your Eyelids
Start with clean, moisturized eyelids. Apply eyeshadow primer across the entire lid from lash line to brow bone. If you don’t have primer, a thin layer of concealer set with translucent powder works—just make sure the base is completely dry before applying shadow.
Priming isn’t optional if you want your smokey eye to last. Without it, oils from your skin break down the eyeshadow, causing creasing, fading, and colors that look muddy instead of vibrant. A good primer creates a slightly tacky surface that grabs pigment and holds it in place for hours.
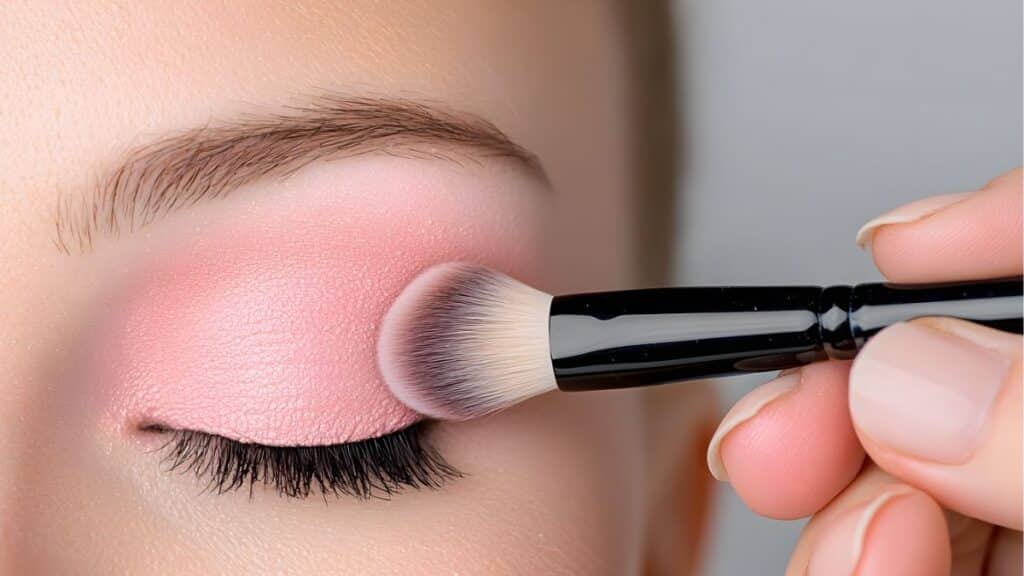
Step 2: Apply a Neutral Base Shade
Using a fluffy brush, sweep a neutral matte eyeshadow (something close to your skin tone but slightly darker) across your entire eyelid, blending up toward the brow bone. This “transition shade” serves as a buffer between your skin and the darker colors, making blending smoother and preventing harsh edges.
Think of this step as creating a foundation for the rest of your eye makeup. Just as you wouldn’t paint a wall without primer, you shouldn’t apply dark eyeshadow without this neutral base. It also helps you see where you’re placing color and makes fixing mistakes easier.
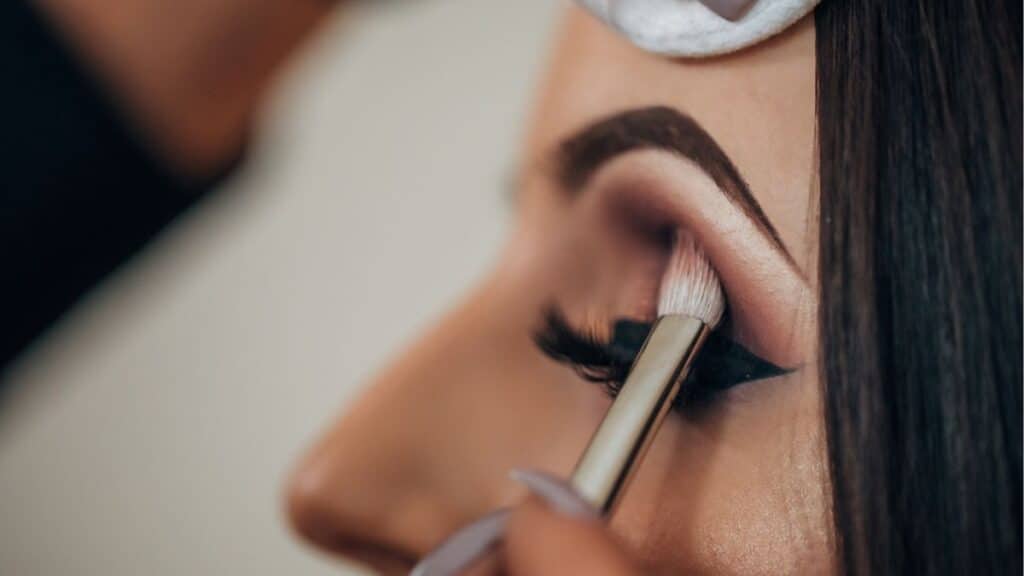
Step 3: Pack on the Dark Shadow
Now comes the drama. Take your small pencil or shader brush, pick up your darkest eyeshadow, and tap off excess. Starting at the outer corner of your eye, press (don’t sweep) the color onto your lid, concentrating it right at the lash line and working it into a small “V” shape at the outer corner.
Build the color gradually—don’t try to get full opacity in one application. Sheer layers are your friend. Each layer should be slightly less intense than the last as you move toward the center of your lid. The goal is depth at the lash line that gradually fades upward.
If you’re using tape for a sharp edge, apply it now before adding dark shadow. Place the tape diagonally from the outer corner of your lower lash line upward toward the tail of your eyebrow. This creates a guide for your shadow and lifts the eye shape.
Step 4: Blend Like Your Life Depends on It
Here’s where the magic happens—and where most people give up too soon. Switch to your clean fluffy blending brush and start blending the edges of that dark shadow in windshield-wiper motions. Move the brush back and forth in the crease area, softening any harsh lines and pulling the color slightly upward and outward.
The key is using a light hand with continuous, circular motions. You’re not rubbing hard; you’re gently diffusing pigment. If you see any distinct lines or edges, keep blending. The smokey eye should look like the color gradually fades into nothing—no visible stopping point.
If the color starts looking patchy or muddy, go back to your transition shade and blend over the area where the dark shadow meets your base. This creates a buffer zone that smooths everything together. Don’t be afraid to blend, add more color, and blend again. Professional makeup artists spend most of their time blending, not applying.
Step 5: Smudge the Lower Lash Line
Take your smudger brush or small angled brush and pick up the same dark shadow you used on your lid. Smudge it along your lower lash line, starting from the outer corner and working inward, connecting it to the shadow on your upper lid. The lower lash line shadow should be softer and less intense than the upper lid.
This step ties the whole look together. Without shadow on the lower lashes, a smokey eye can look unfinished or top-heavy. The smudged lower line creates balance and makes eyes appear more sultry and defined.
Step 6: Add Depth with a Medium Shade (Optional)
If your blend between the dark shadow and your base shade looks too stark, introduce a medium-toned shade (like a medium brown or taupe). Apply this in the crease area where the two shades meet, blending it into both the dark shadow and the lighter base. This creates an additional layer of depth and makes the gradient even smoother.
This step separates amateur smokey eyes from professional ones. That extra transitional shade is what makes the eye look multidimensional instead of flat.

Step 7: Line and Define
Apply eyeliner to your upper lash line, keeping it close to the lashes. You can also line your waterline (the inner rim of your eye) for more intensity, though this makes eyes appear slightly smaller. For a softer look, skip the waterline and just tightline (line between the lashes).
On the lower waterline, a dark brown or black liner adds intensity. For a brighter-eyed alternative, use a nude or white liner on the lower waterline—this opens up the eyes while still maintaining the smokey effect on the lid.
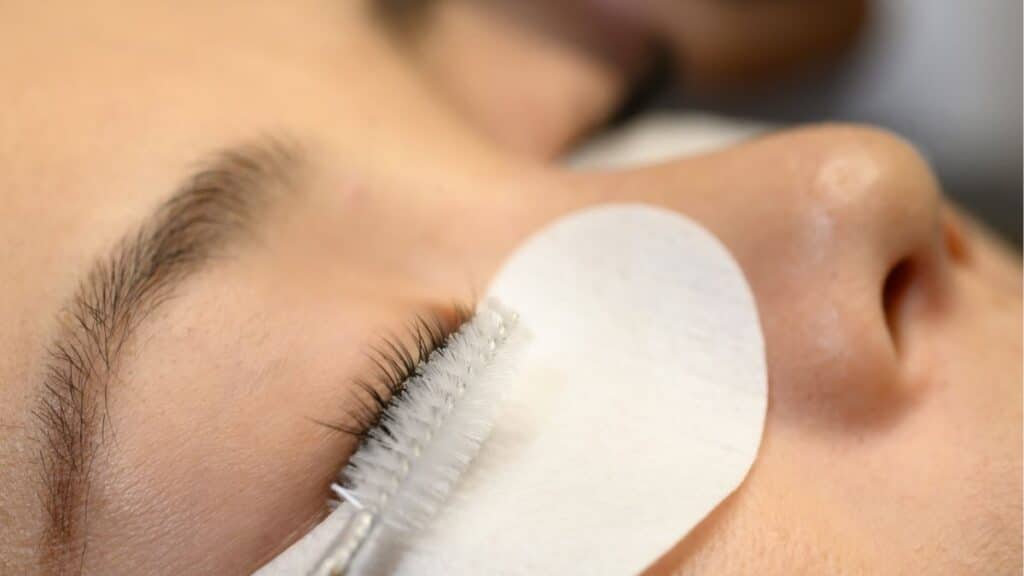
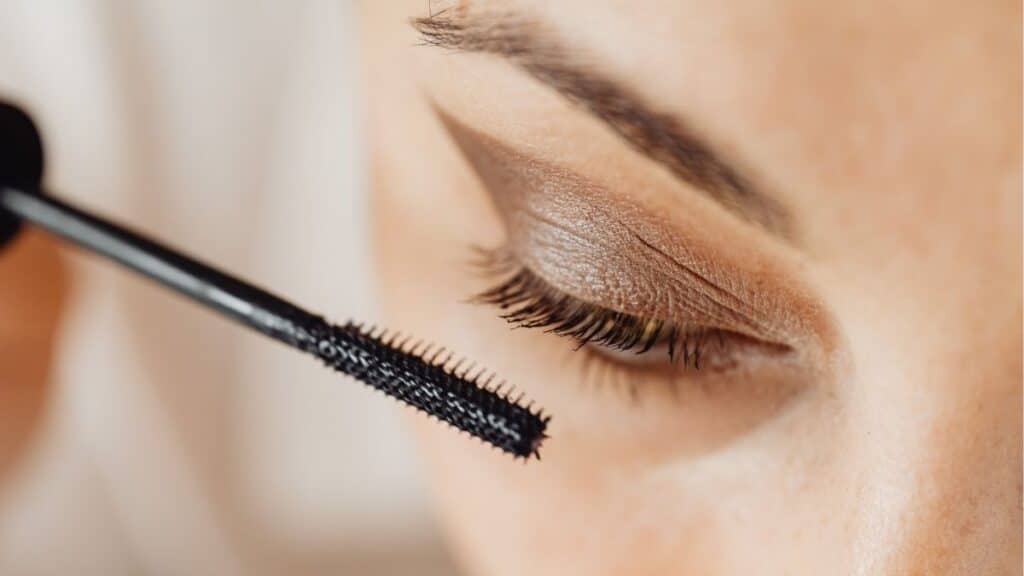
Step 8: Mascara Is Non-Negotiable
Apply multiple coats of mascara to both top and bottom lashes. Wiggle the wand at the base of your lashes and pull upward, building volume and length. The smokey eye relies on lashes to complete the sultry effect—skimping here will make the whole look fall flat.
If you have lighter lashes, consider a lash primer or double up on mascara coats. False lashes also pair beautifully with smokey eyes for special occasions, adding instant glamour without requiring perfect application skills.
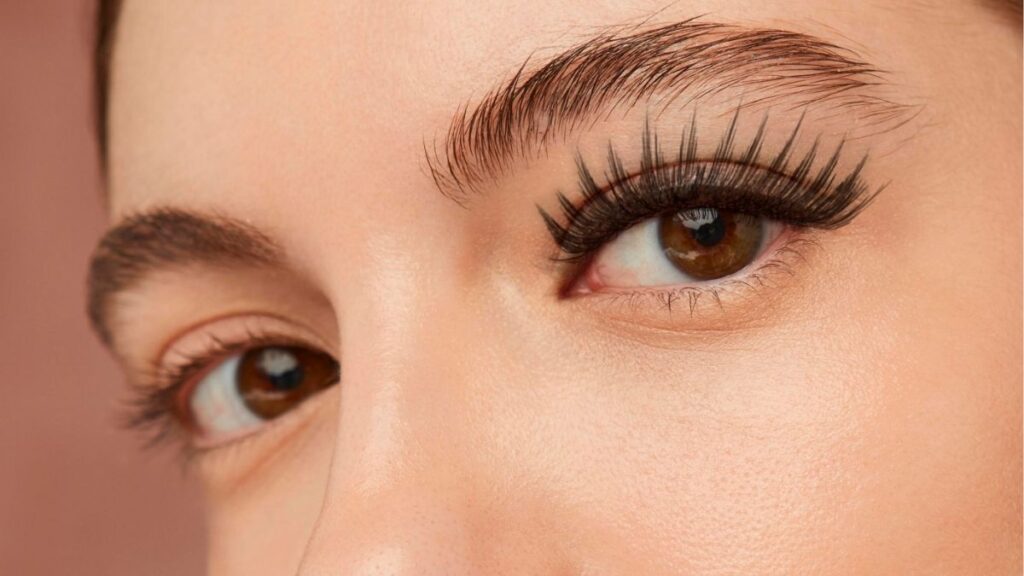
Step 9: Highlight the Inner Corner and Brow Bone
To prevent the smokey eye from looking too heavy or dated, add a touch of light shimmer or matte highlight to the inner corner of your eye and just under the arch of your brow. This creates contrast, makes eyes look bigger and more awake, and adds a modern touch to the classic technique.
The highlight doesn’t need to be glittery—a subtle champagne or cream shade works beautifully. Just a small amount makes a noticeable difference in how polished and intentional the whole look appears.
Step 10: Clean Up Fallout and Perfect Edges
Use a flat brush dipped in makeup remover or micellar water to clean any fallout under your eyes and sharpen the edges of your smokey eye. If you used tape, remove it now by pulling gently downward—you’ll reveal a sharp, lifted outer edge that looks professionally done.
This cleanup step is what transforms a good smokey eye into a great one. Taking an extra minute to perfect the edges makes the difference between “I tried” and “I nailed it.”

Common Smokey Eye Mistakes and How to Fix Them
Mistake 1: Applying too much dark shadow at once Fix: Always start with less color than you think you need. Build gradually in sheer layers. It’s easier to add more pigment than to remove excess.
Mistake 2: Not blending enough Fix: When you think you’re done blending, blend some more. Set a timer for two minutes and just keep blending with a clean fluffy brush. You’ll be surprised how much softer it looks.
Mistake 3: Using the wrong brushes Fix: Invest in at least one good fluffy blending brush. This single tool will improve your results more than any expensive eyeshadow palette.
Mistake 4: Forgetting the transition shade Fix: Never apply dark shadow directly onto bare primer. Always use a neutral transition shade first—it makes blending infinitely easier.
Mistake 5: Making the eye too round Fix: Elongate the outer corner by extending your dark shadow slightly past the natural end of your eye. This creates a lifted, more flattering shape instead of a round, dated look.
Product Recommendations for Every Budget
Drugstore Options:
- e.l.f. Bite-Size Eyeshadows: Affordable, pigmented, and perfect for practicing smokey eyes without investment guilt
- Maybelline Color Tattoo Cream Shadows: Long-lasting base for smokey eyes, especially in shades like “Bad to the Bronze”
- Wet n Wild Photo Focus Eyeshadow Primer: Budget-friendly primer that actually works
- Real Techniques Eye Makeup Brush Set: Best affordable brushes with the right shapes for blending
Mid-Range Options:
- Urban Decay Naked Smoky Palette: Everything you need for multiple smokey eye looks in one palette
- MAC Eye Shadow in Carbon: The ultimate matte black for classic smokey eyes
- Morphe M433 Pro Firm Blending Fluff Brush: Professional-quality blending at a reasonable price
Luxury Options:
- Charlotte Tilbury Luxury Palette in The Rebel: Perfectly curated shades with a step-by-step guide
- Tom Ford Eye Color Quad: Richly pigmented, blends like butter
- Natasha Denona I Need a Nude Palette: Versatile neutrals for sophisticated smokey eyes
Smokey Eyes for Different Eye Shapes
Hooded Eyes: Place the dark shadow slightly higher on the lid so it’s visible when eyes are open. Focus intensity on the outer corner and keep the inner half of the lid lighter to create the illusion of more lid space.
Deep-Set Eyes: Use shimmer on the lid and keep matte shadows in the crease. Don’t bring dark colors too far up or they’ll make eyes appear more recessed. Focus on defining the lash line.
Monolid Eyes: Create dimension by applying the darkest shade close to the lash line and gradually lightening as you move upward. Extend the outer corner slightly upward for a lifted effect.
Round Eyes: Elongate the shape by extending shadow past the outer corner and keeping the inner corner lighter. Focus intensity on the outer half of the eye.
Almond Eyes: The most versatile shape for smokey eyes. Follow the standard technique and experiment with different color intensities and placements.
How do you do a smokey eye for beginners?
Prime your lid, apply a neutral transition shade, pack dark shadow on the outer corner and lash line, blend extensively with a fluffy brush, smudge the lower lash line, and finish with mascara.
What’s the easiest way to do a smokey eye?
Use a soft pencil liner on your lash line, smudge it upward with a brush or cotton swab, blend the edges, and add mascara for a quick smokey effect.
What brushes do I need for smokey eyes?
A small shader brush for packing color and a fluffy blending brush for diffusing edges are essential—these two brushes are all you really need.